Bobtail Discovery Dashboard Part 2 |
|
|
After almost 2 years I wanted to add the isolators to the dashboard as originally planned and make a few extra changes.
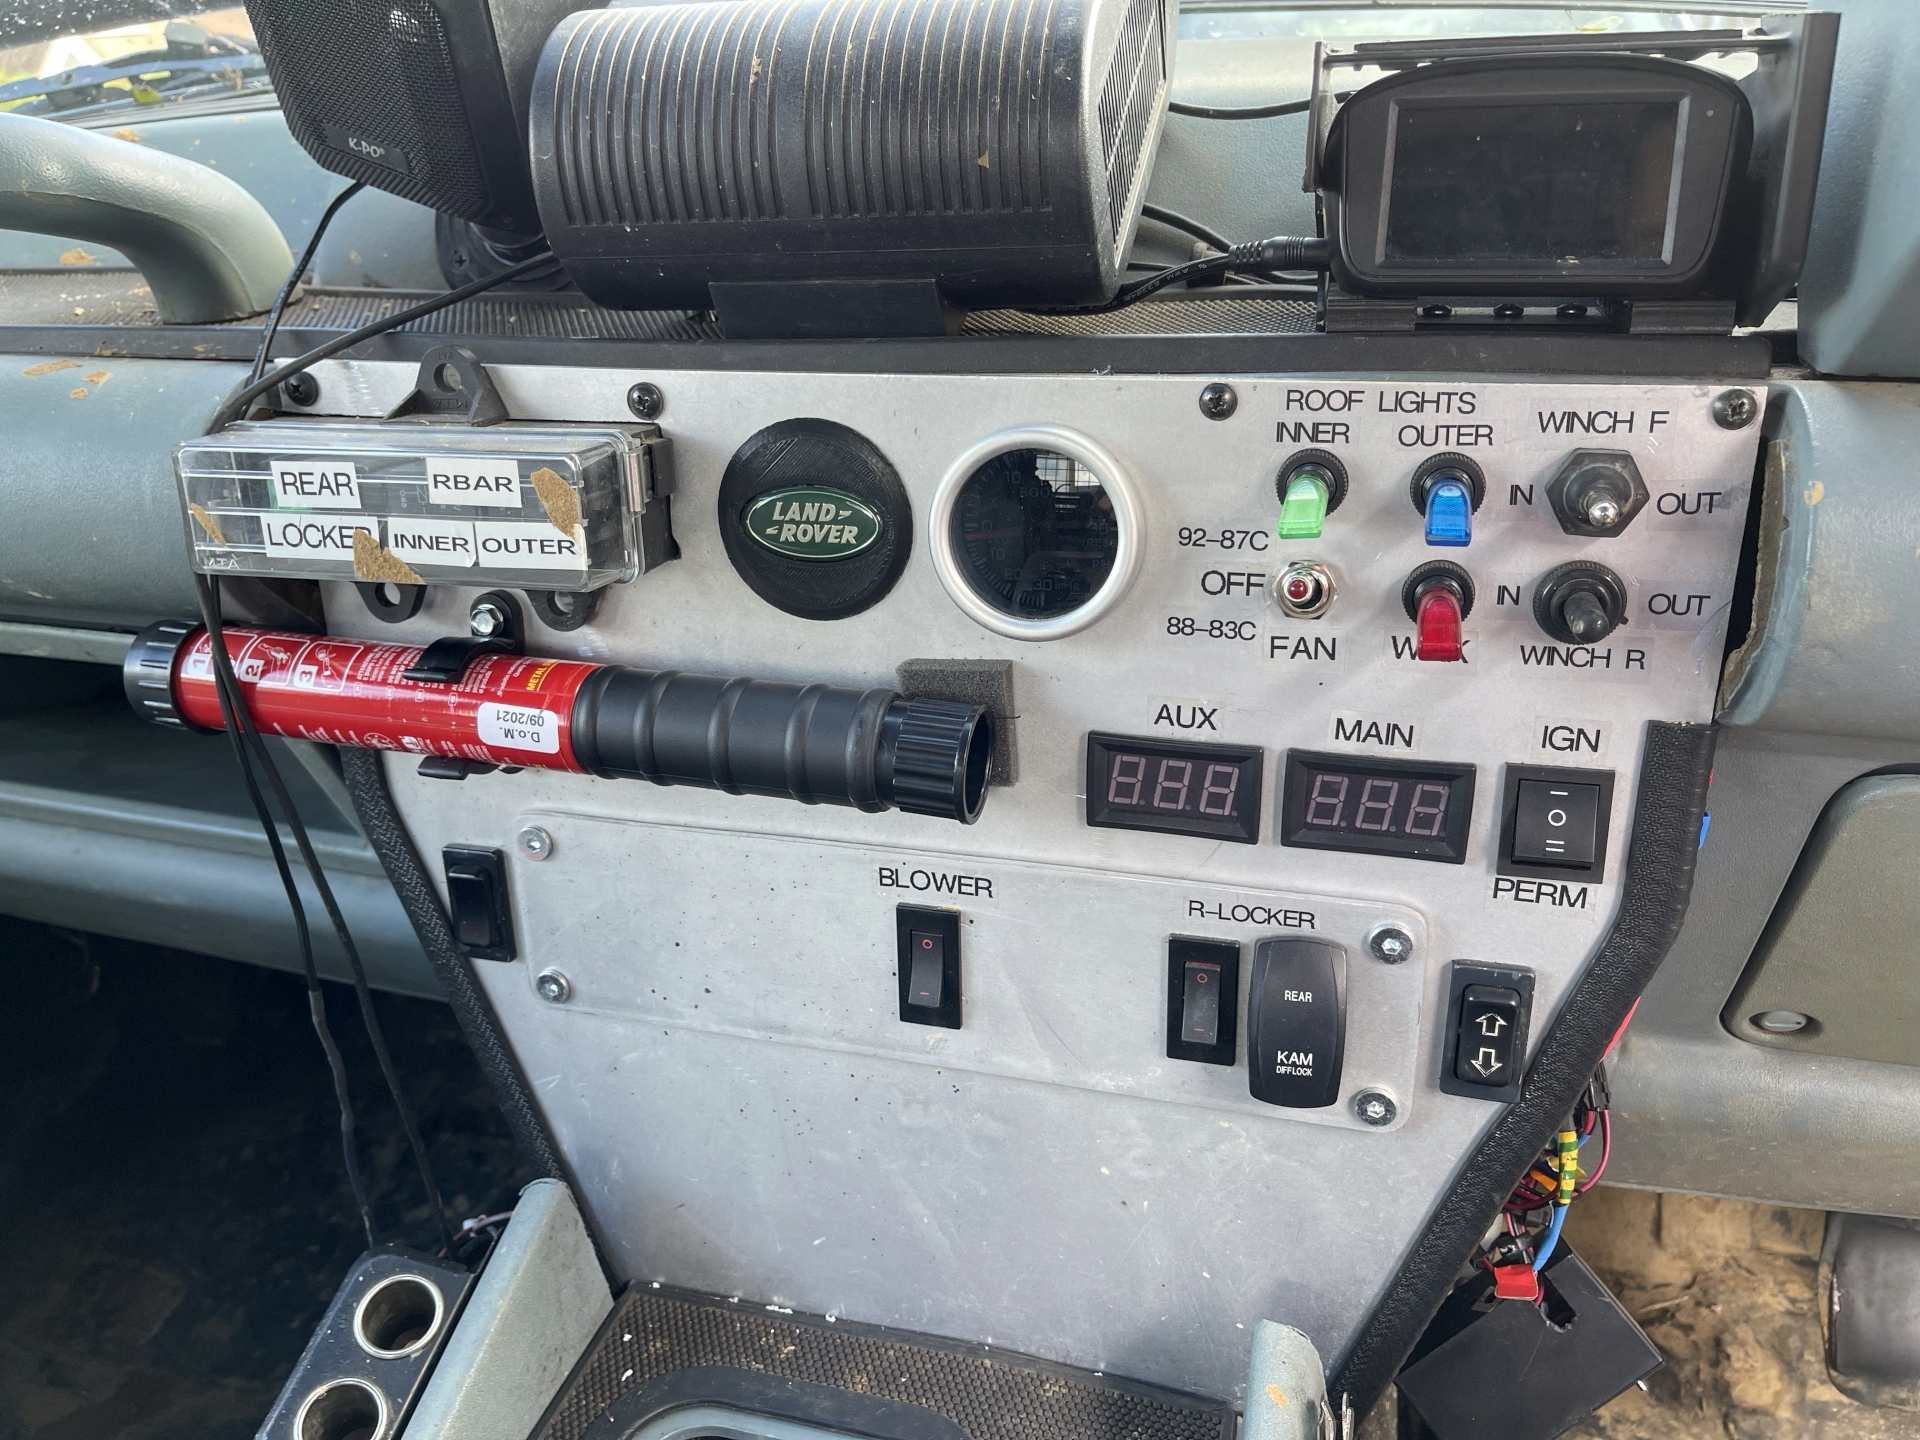
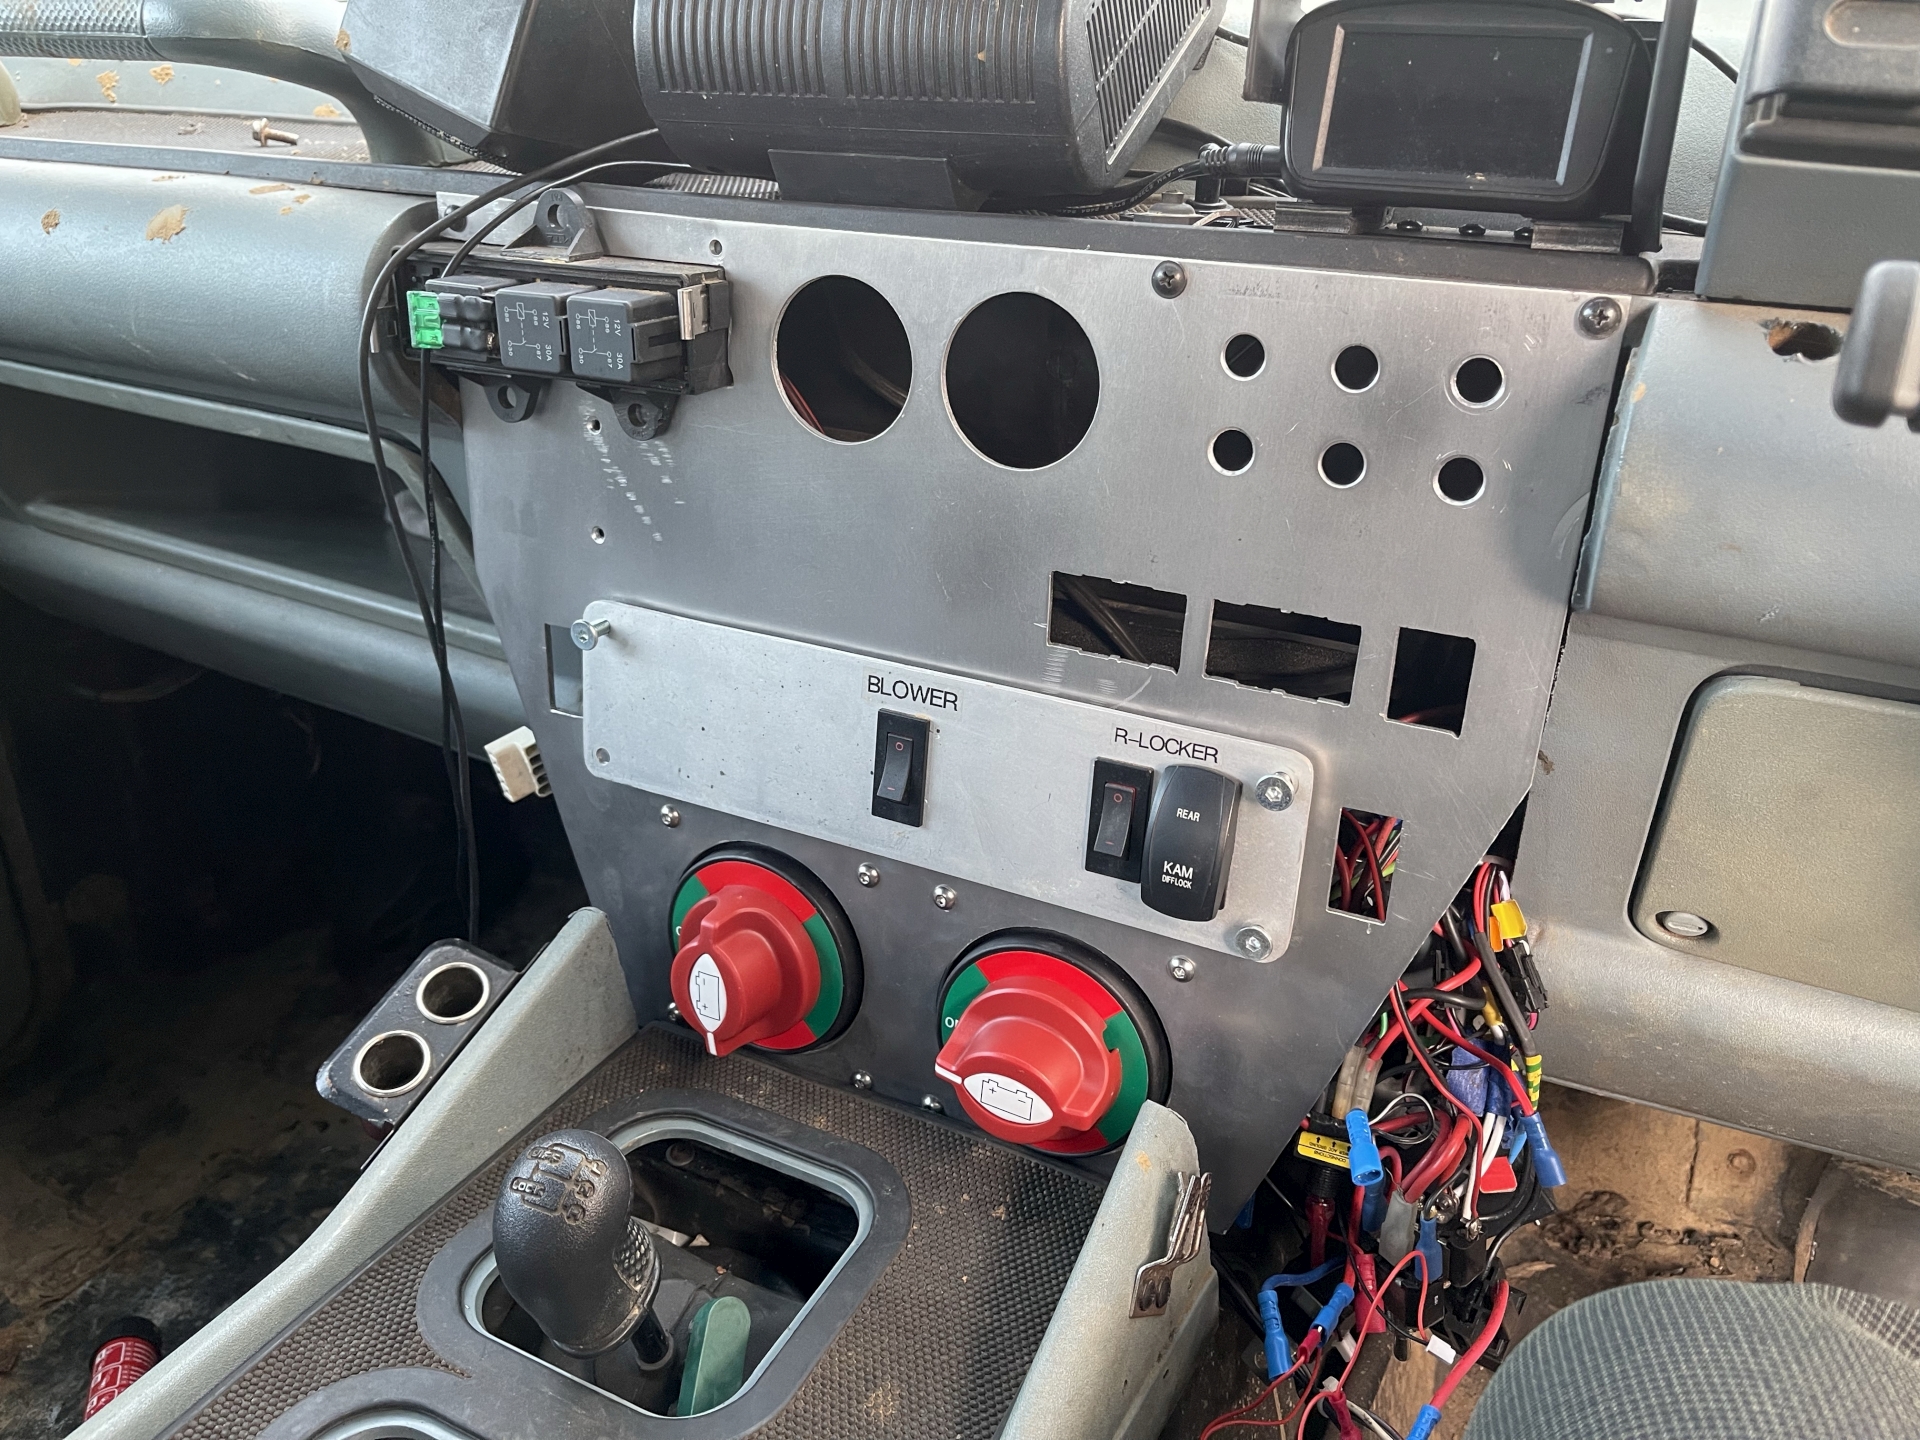
This is how the dash looked in late 2021, after I added a blanking plate to the second gauge hole and a Fire Safety Stick within easy reach.
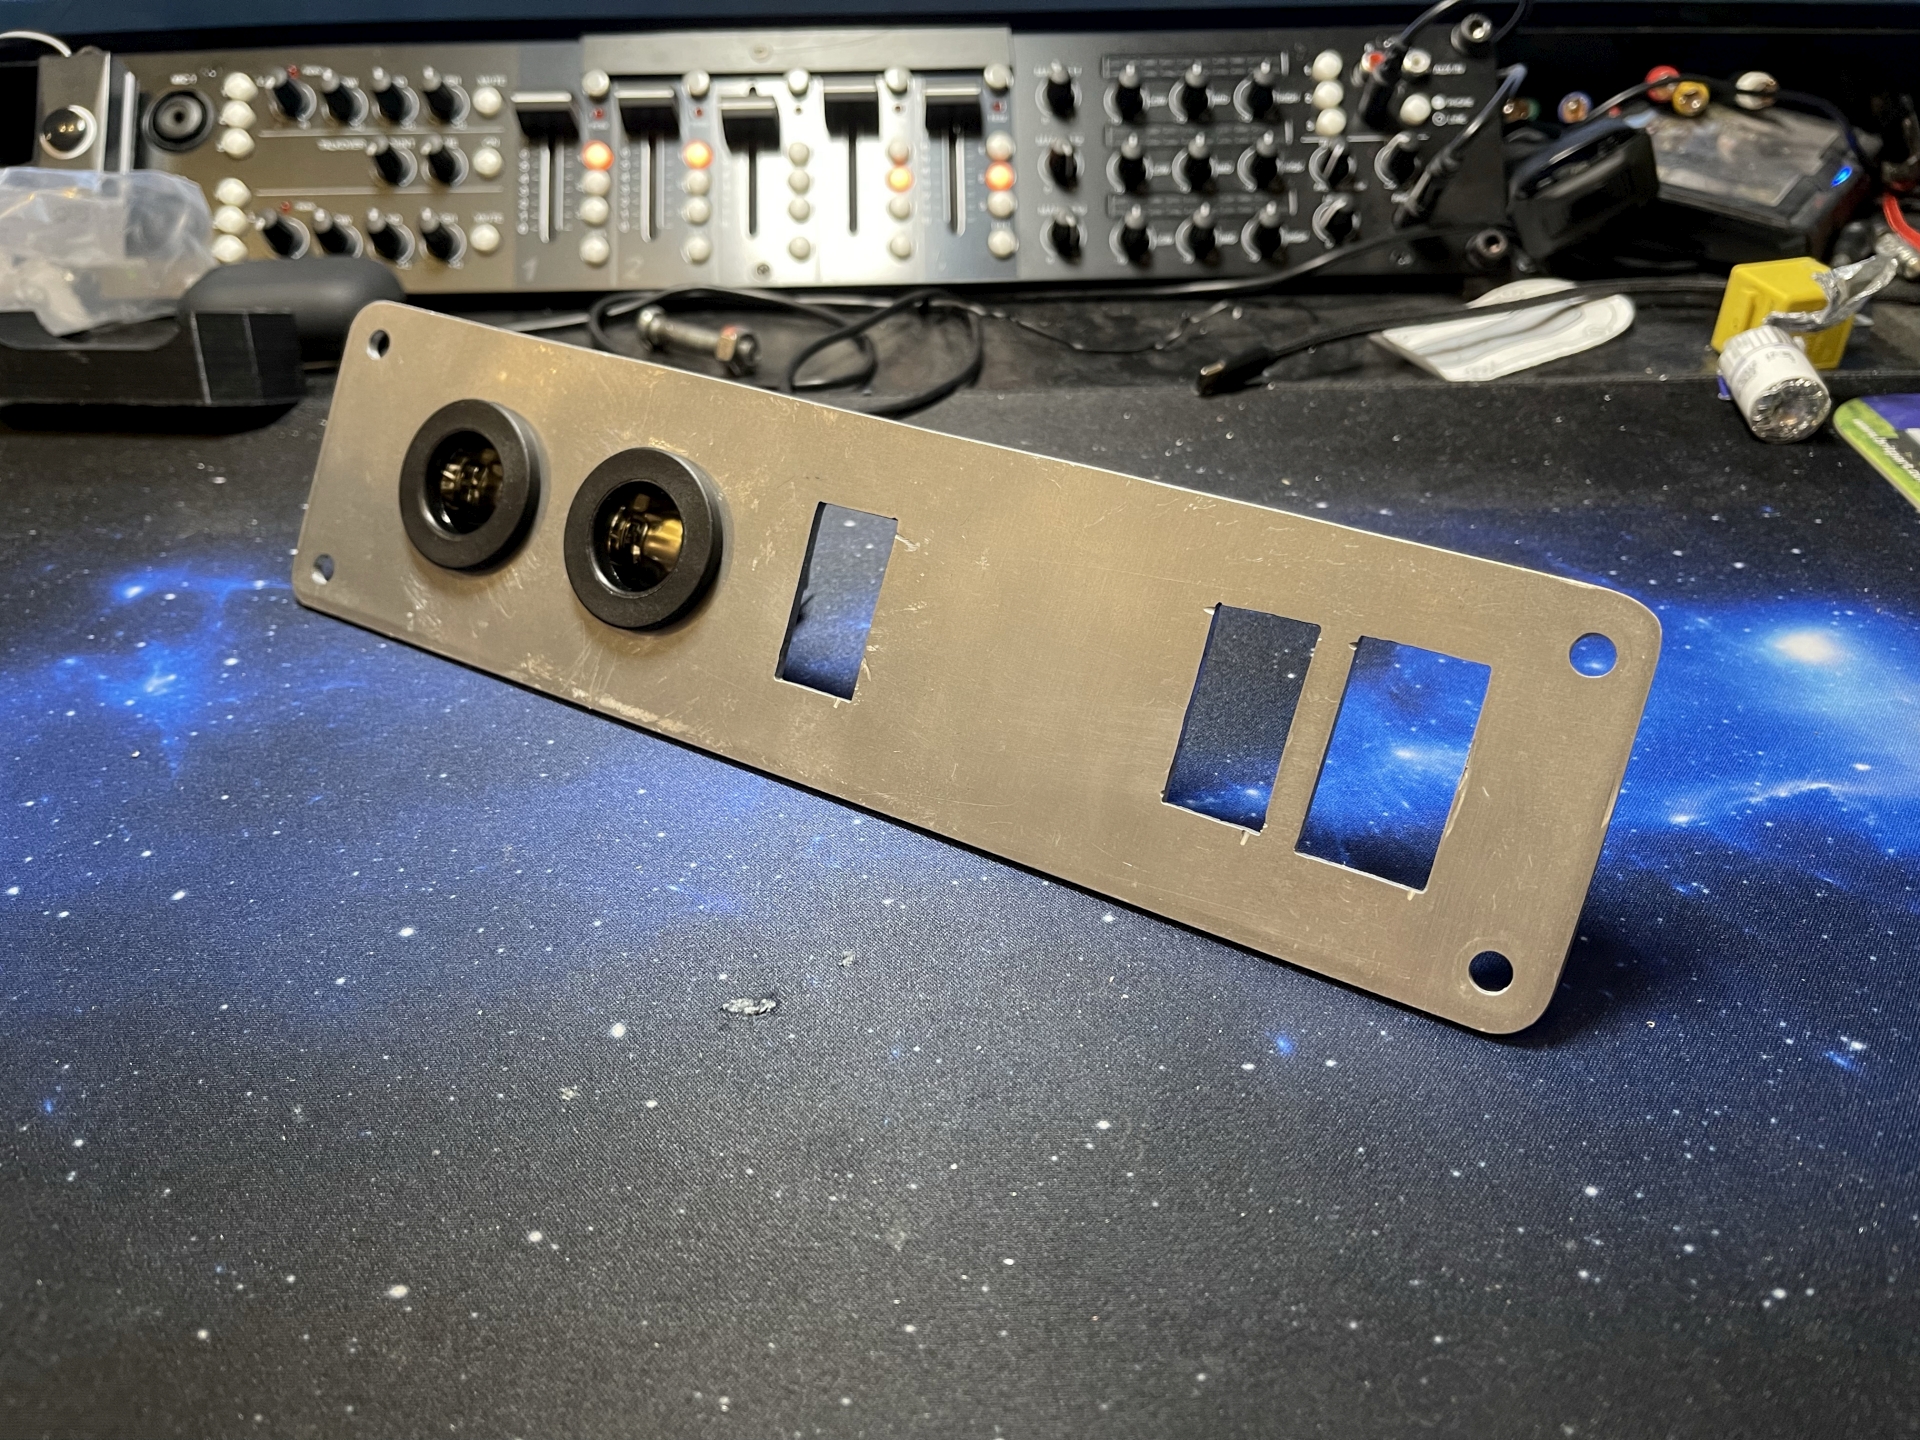
When I first planned the aluminium dashboard plate, I left space for a pair of big isolators for the winches. Well I finally bought the things (at a good price) and here they are with a Sharpie for scale.

They have rather massive 12mm studs on the back and can handle 550A for an hour, with a 2500A surge. More than enough for the winches. The one on the left in the photo has a piece of styrene screwed to it, cut out to test and adjust my measurements.
I'll need to sort out cables, those are going to be expensive as I need at least 70mm2 cable to carry the current. The plan is to tag off the existing isolators to save replacing all of the wiring and then the power can be switched on inside or under the bonnet. Not sure how I'll run the cables through the bulkhead, if I could find a 4-way grommet that would be nice.
Second project will be adding new 12V sockets with switched power. I was quite annoyed on Saturday when I realised that my dashcam wasn't running, it has a 12V plug but the sockets are permanently live so I plug it in and unplug it... or more likely forget to do that. I already have the switch for the voltmeters so I'll use that to switch another 30A relay feeding a pair of sockets.
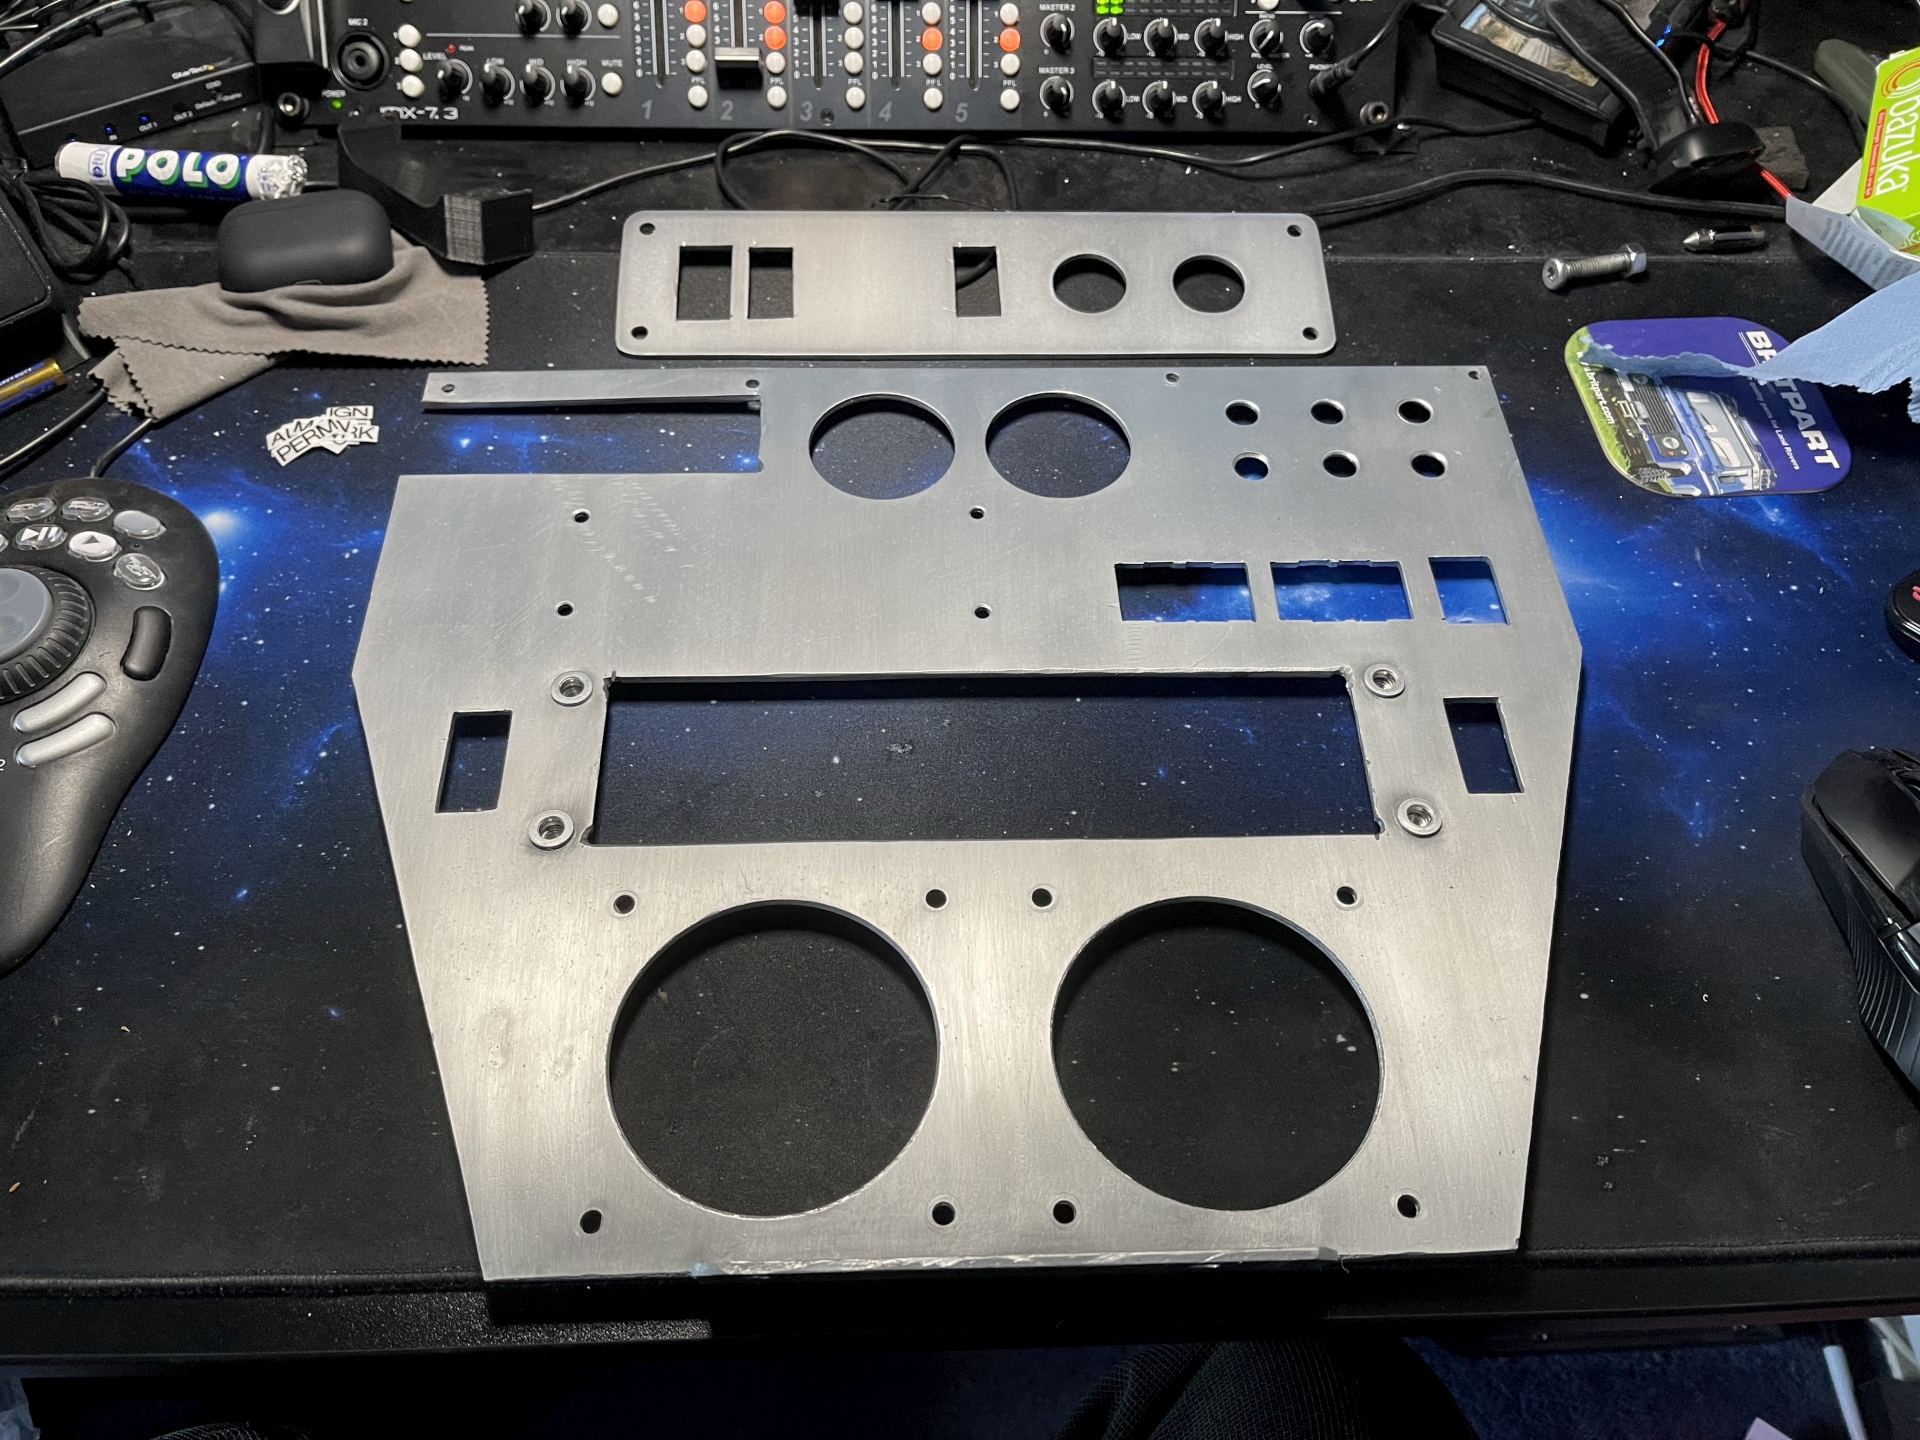
This is the updated drawing for drilling and cutting holes, the new 12V sockets are red and the isolators are the big fuck off things below. Having this apart will also be a good time to re-sand the aluminium and get all of the crap off it.

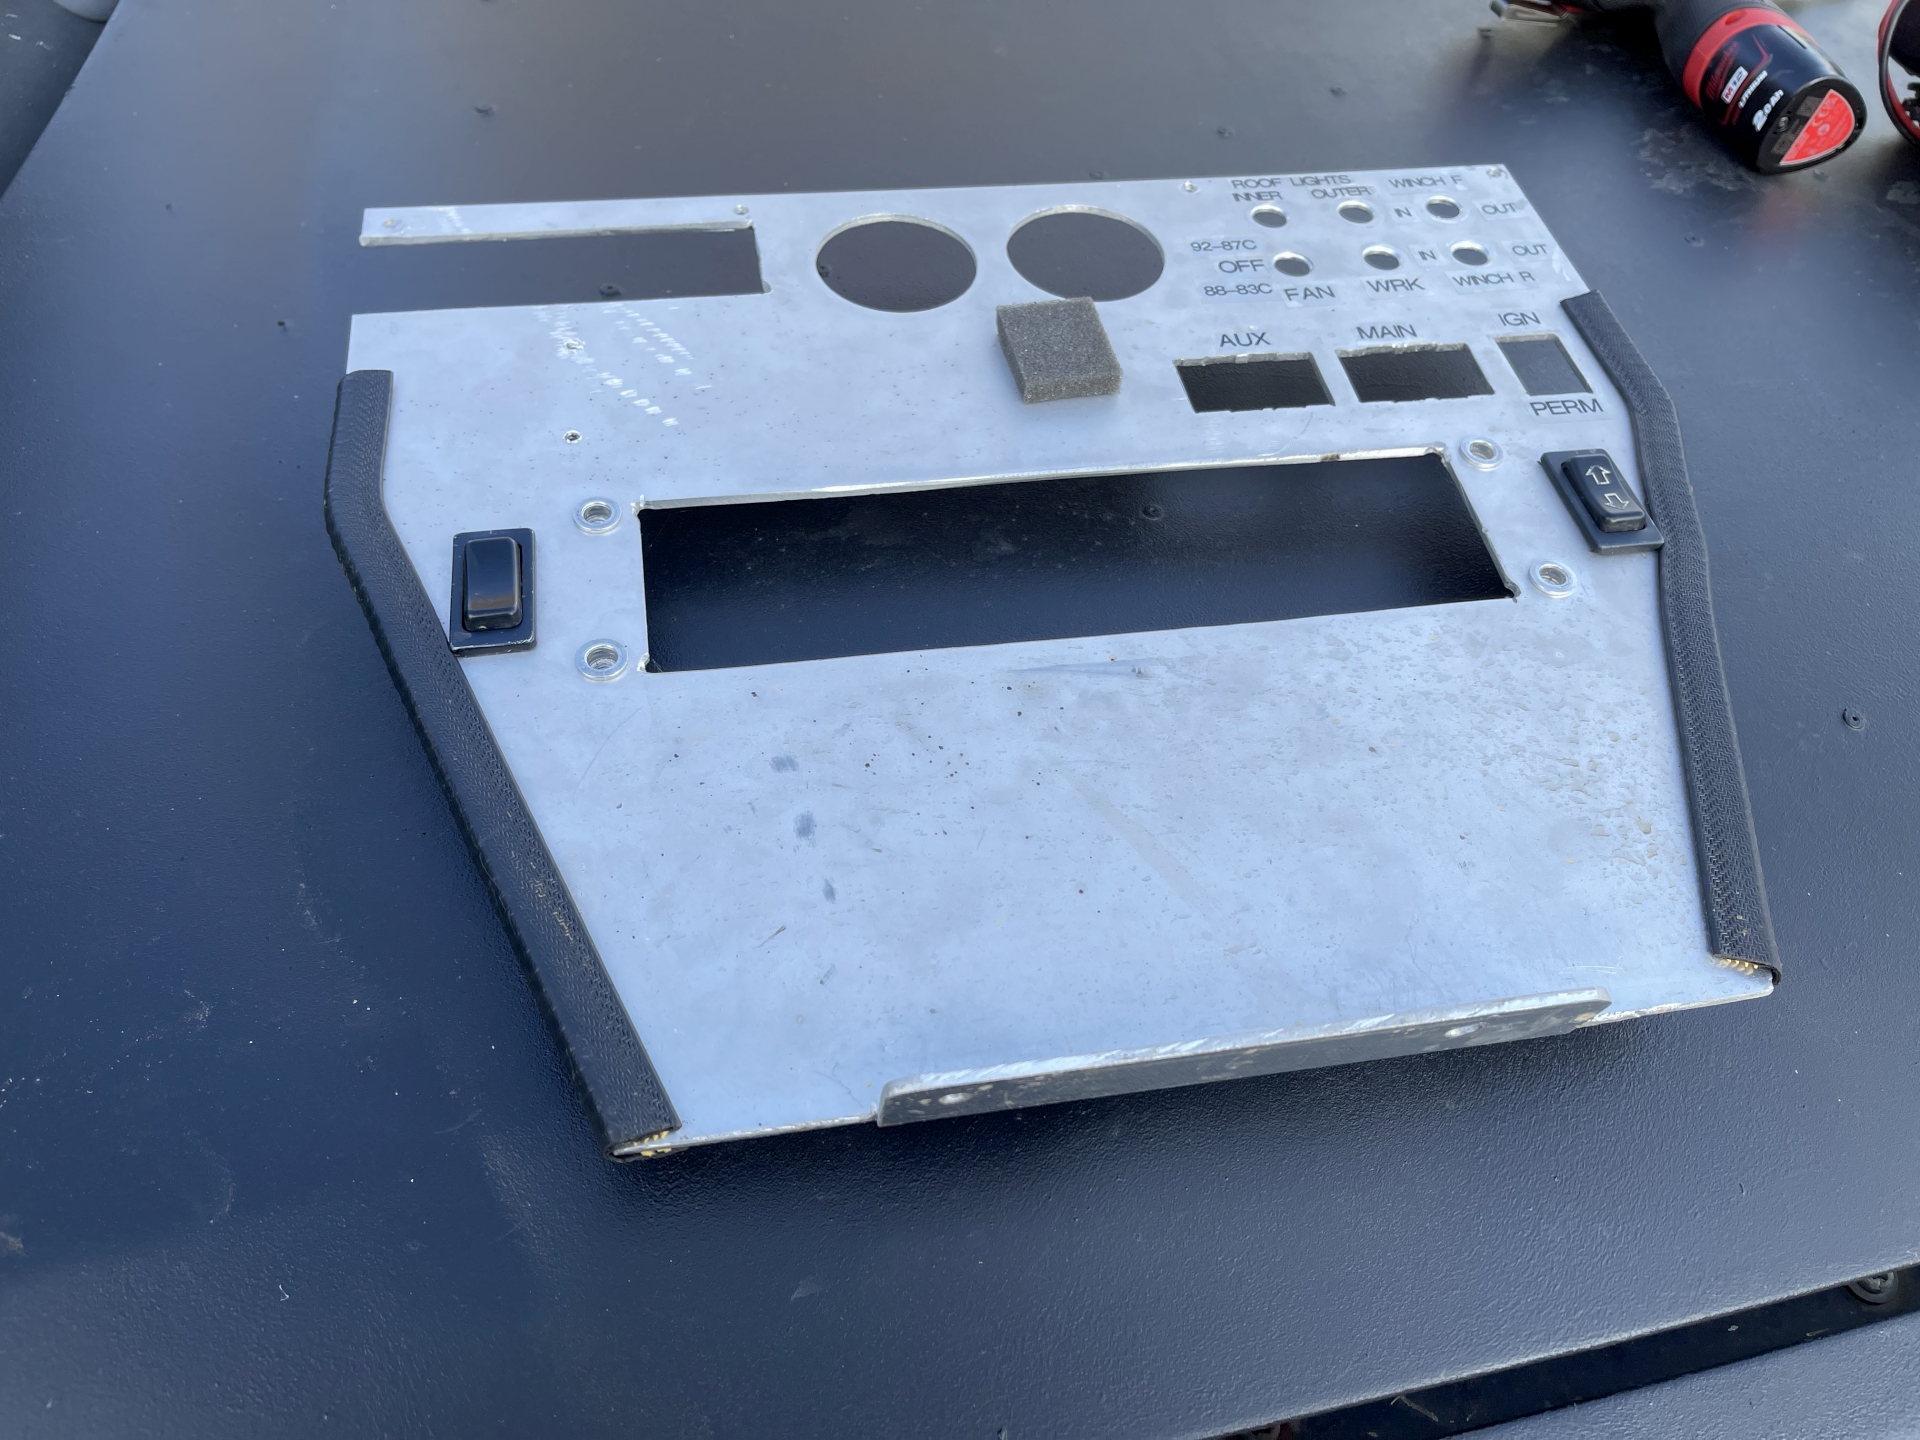
Despite not having the fat battery cables I'll need to link the new isolators to the aux battery, I couldn't wait to put the isolators in to see what they look like. It actually took a while to remove because there are so many connectors. The last time it will be seen looking exactly like this. I'm also going to clean up the finish on the aluminium.
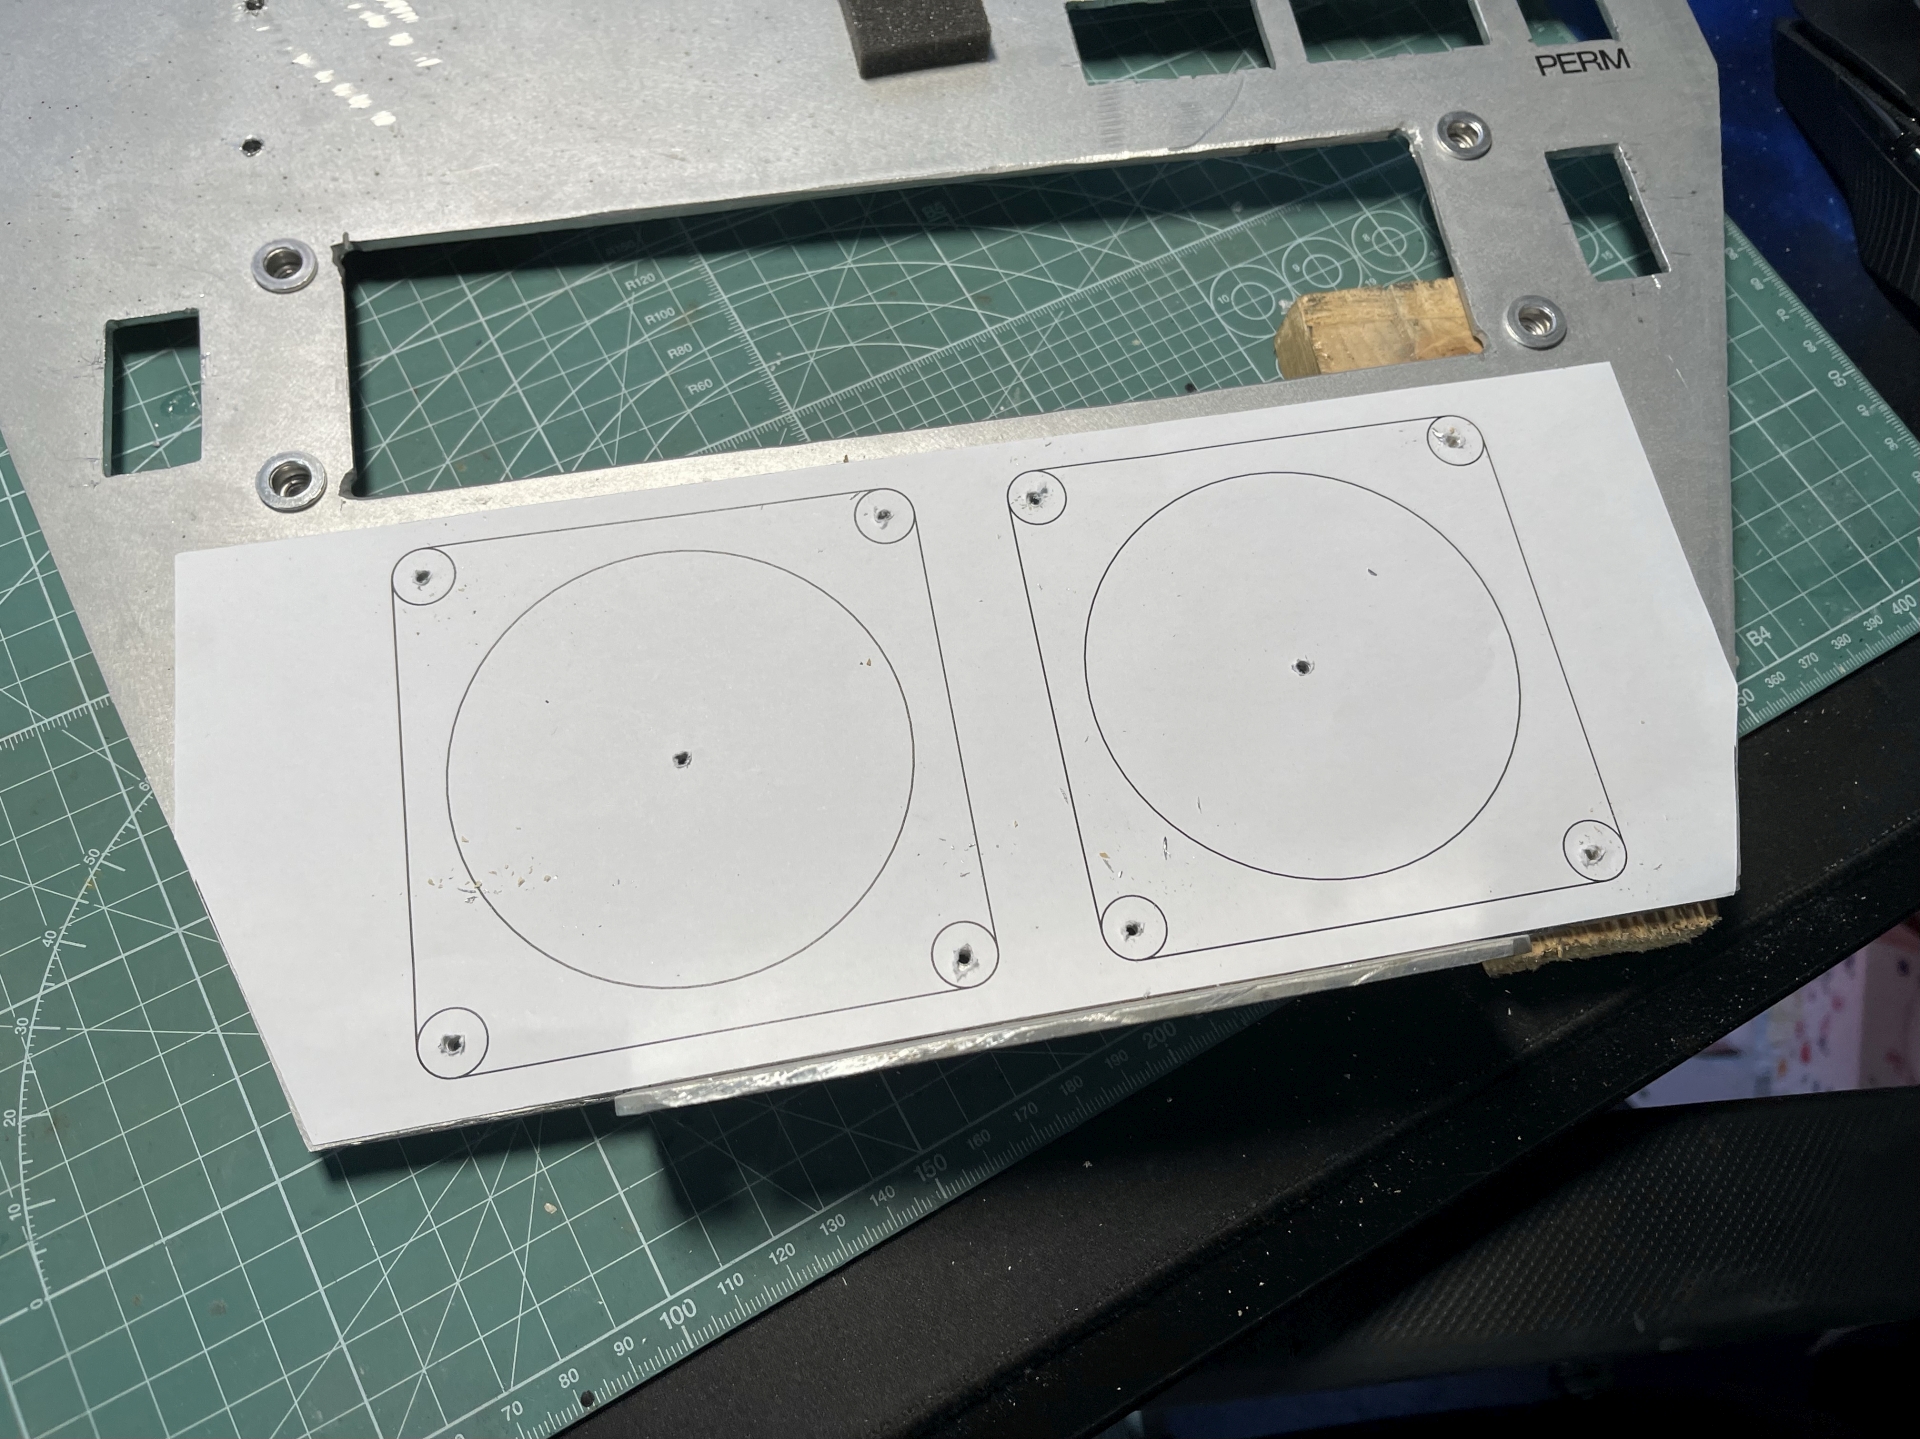
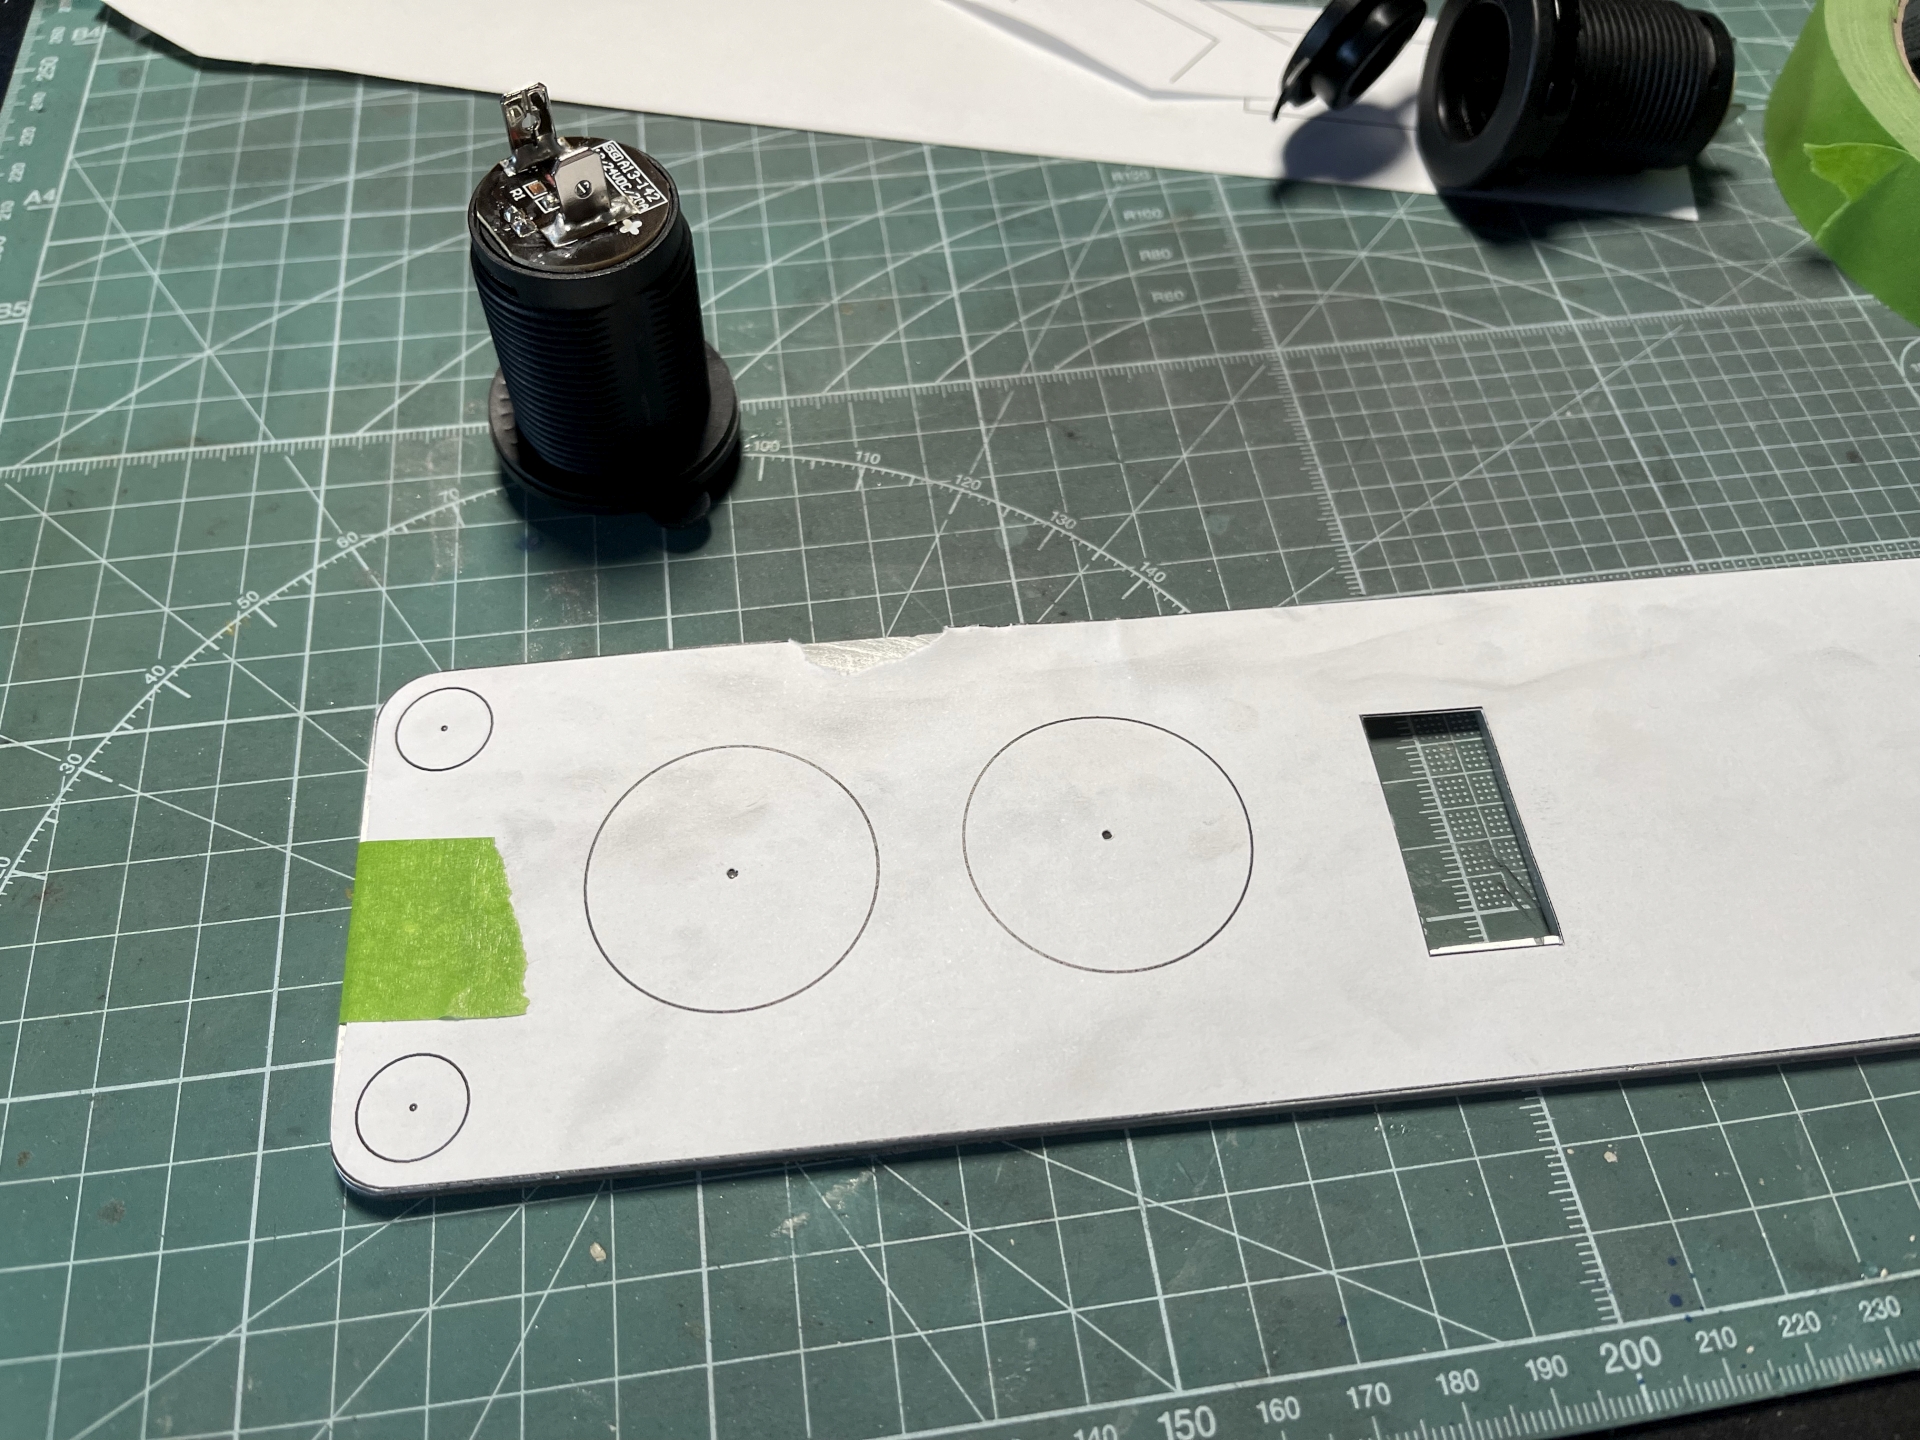
Template stuck on, hole positions centre punched and pilot drilled. Time to cut out the big 3.5"/89mm holes with a holesaw.
My bench drill just had enough power to drill the holes, they were quite rough but cleaned up well. Screwed on here without the back covers as the machine screws I have aren't long enough. Fortunately they have moulded recesses for capturing nuts on the main body as well as on the back covers. May keep them like this.
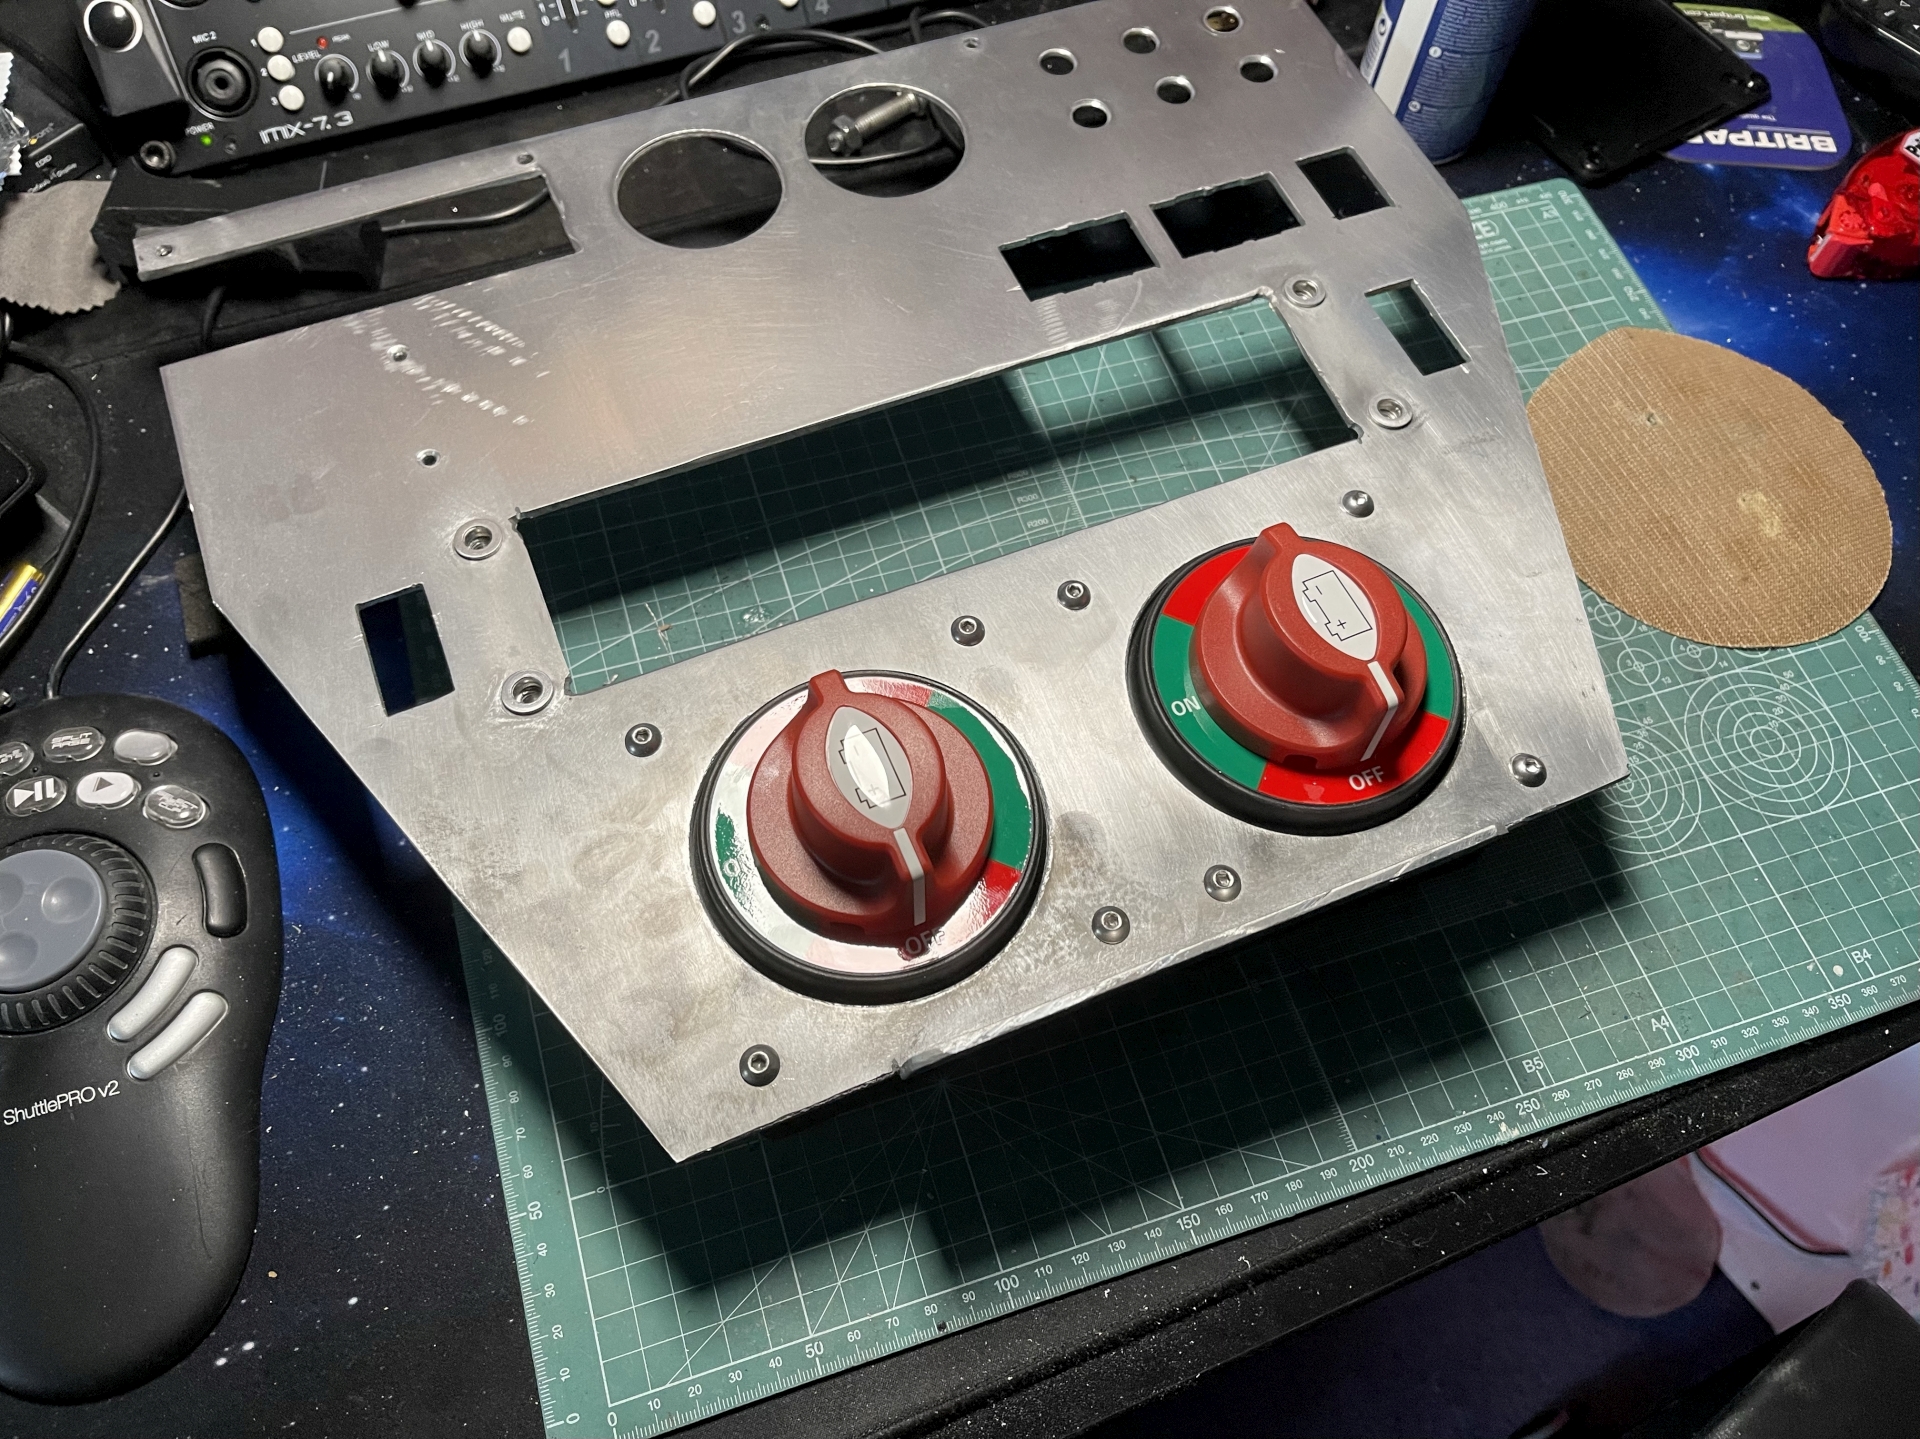
Test fitted with the centre console. Good clearance above but they could be a little higher, I hadn't originally accounted for the rubber mat. While the isolators are above the console fixing screws they actually don't get in the way, nor will the right isolator stop me putting my phone down beisde the hi/lo lever.
Next up is to buy the 12V sockets and drill the holes in the removable panel, then wire up the relay. You can't quite see it but there's a spare spot on the far left of the relay holder and I have spare relays.
I'm looking to go for a brushed finish on the metal this time, manually done with a green abrasive pad. I may change my mind, I still have the abrasive pads for my random sander that I used for the original satin finish. Need to get those scratches out first. Then I have some clear coat coming to protect it, I never did that before and it got dirty.
After cutting the big holes for the isolators, the next thing was to sort the mounting of the fire safety stick. For those who don't know about it, it's basically a flare that shoots inert gas out of the end to put out fires.
It only came with one mount, I had previously used a bit of foam to stop it from rattling but I never liked that idea and had to remove it when I cleaned up the metal. I 3D printed a replica from PETG, which despite having all the same measurements came out slightly smaller.
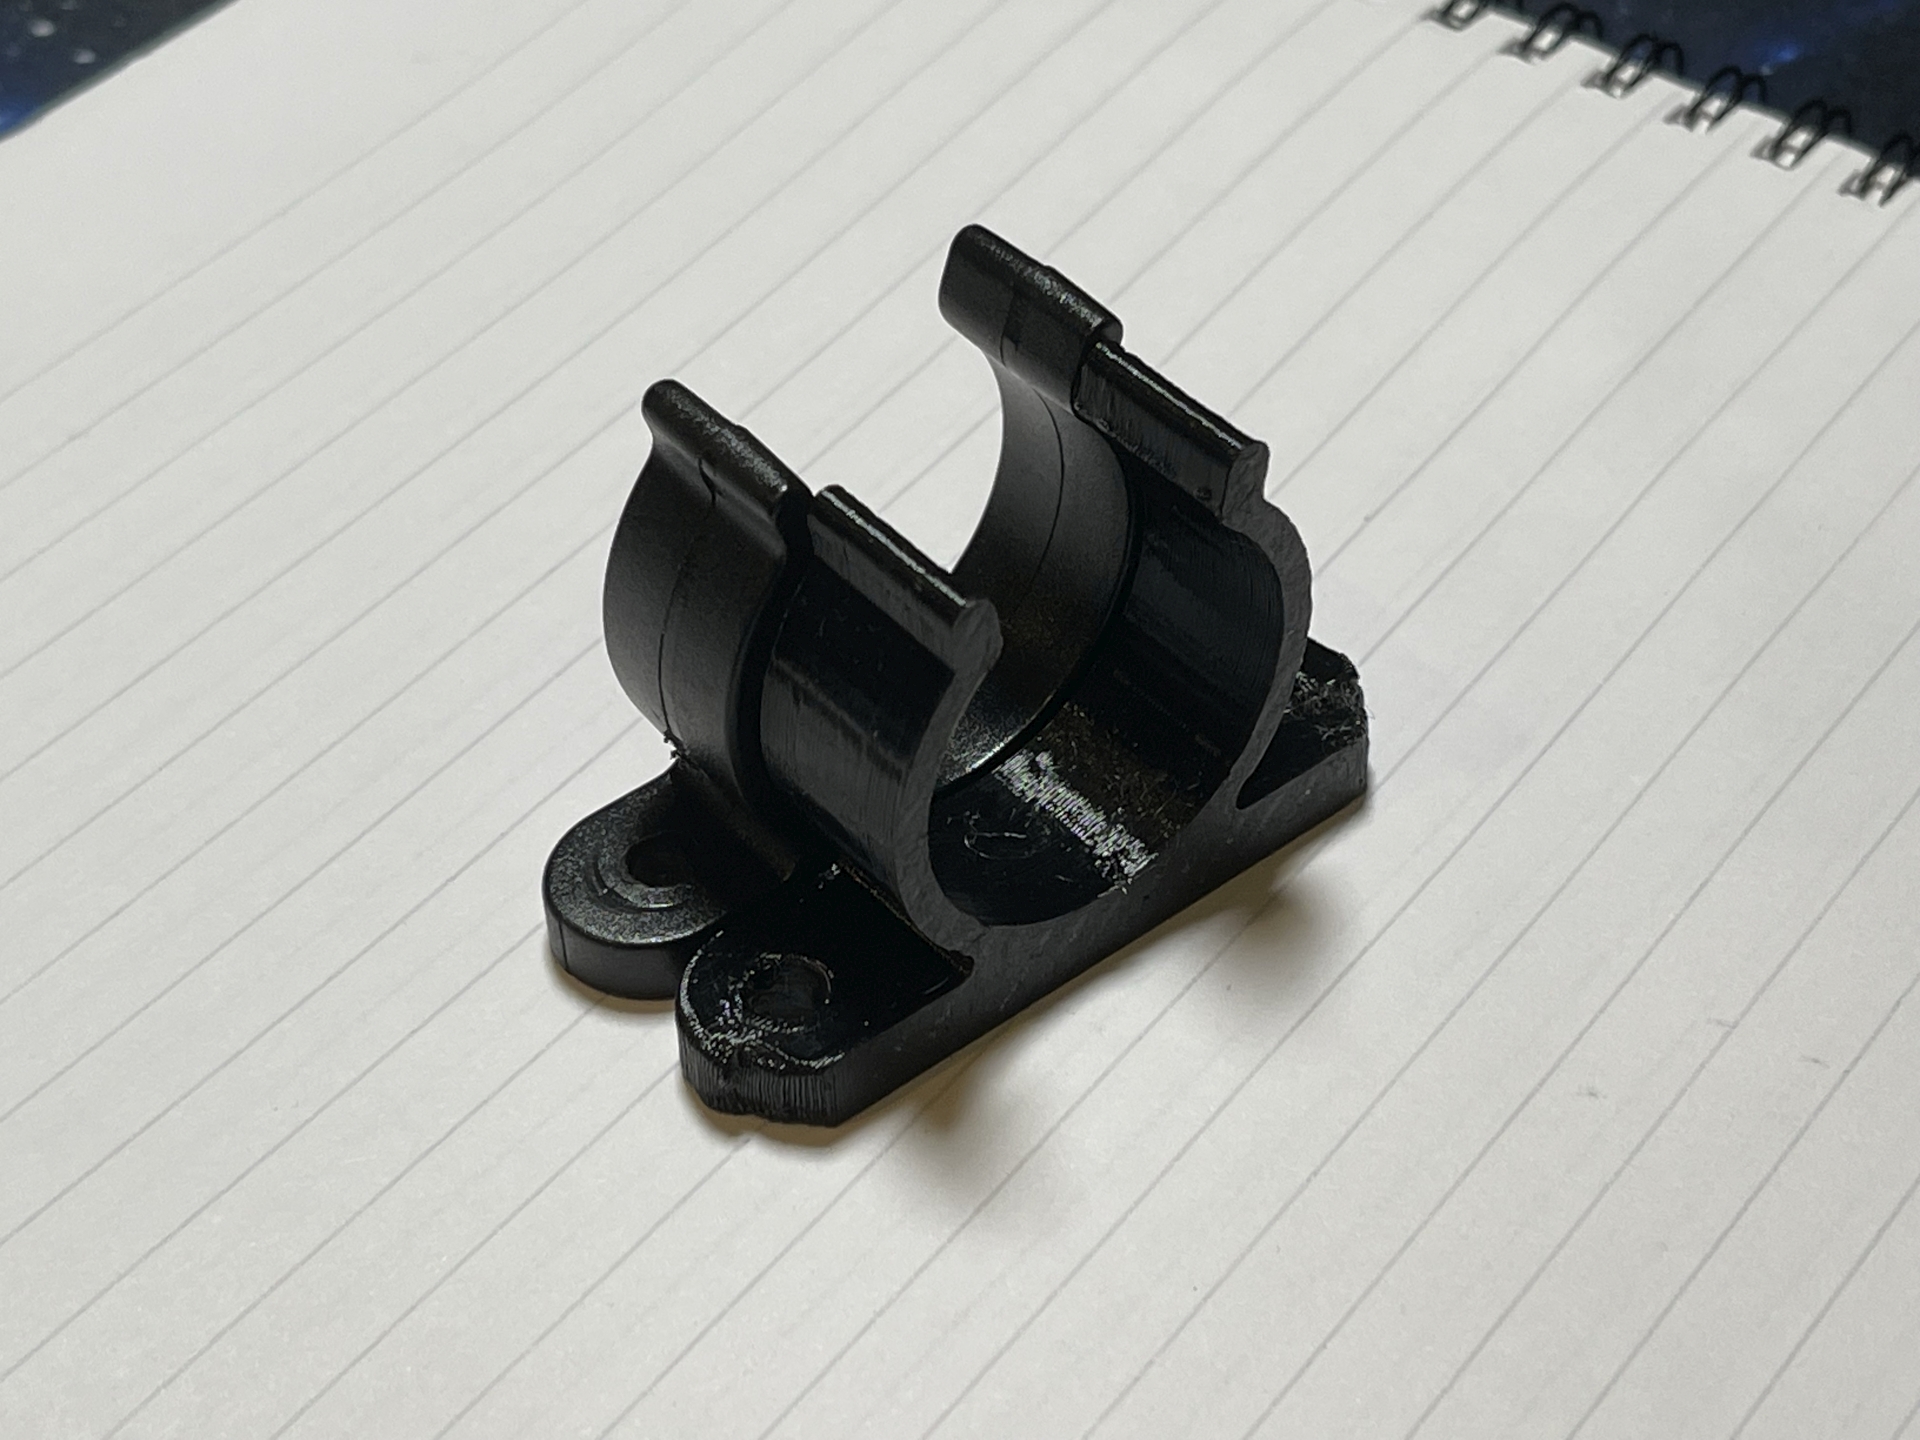
Fitted with proper nuts and bolts this time rather than sheet metal screws.

My big red stick in place.

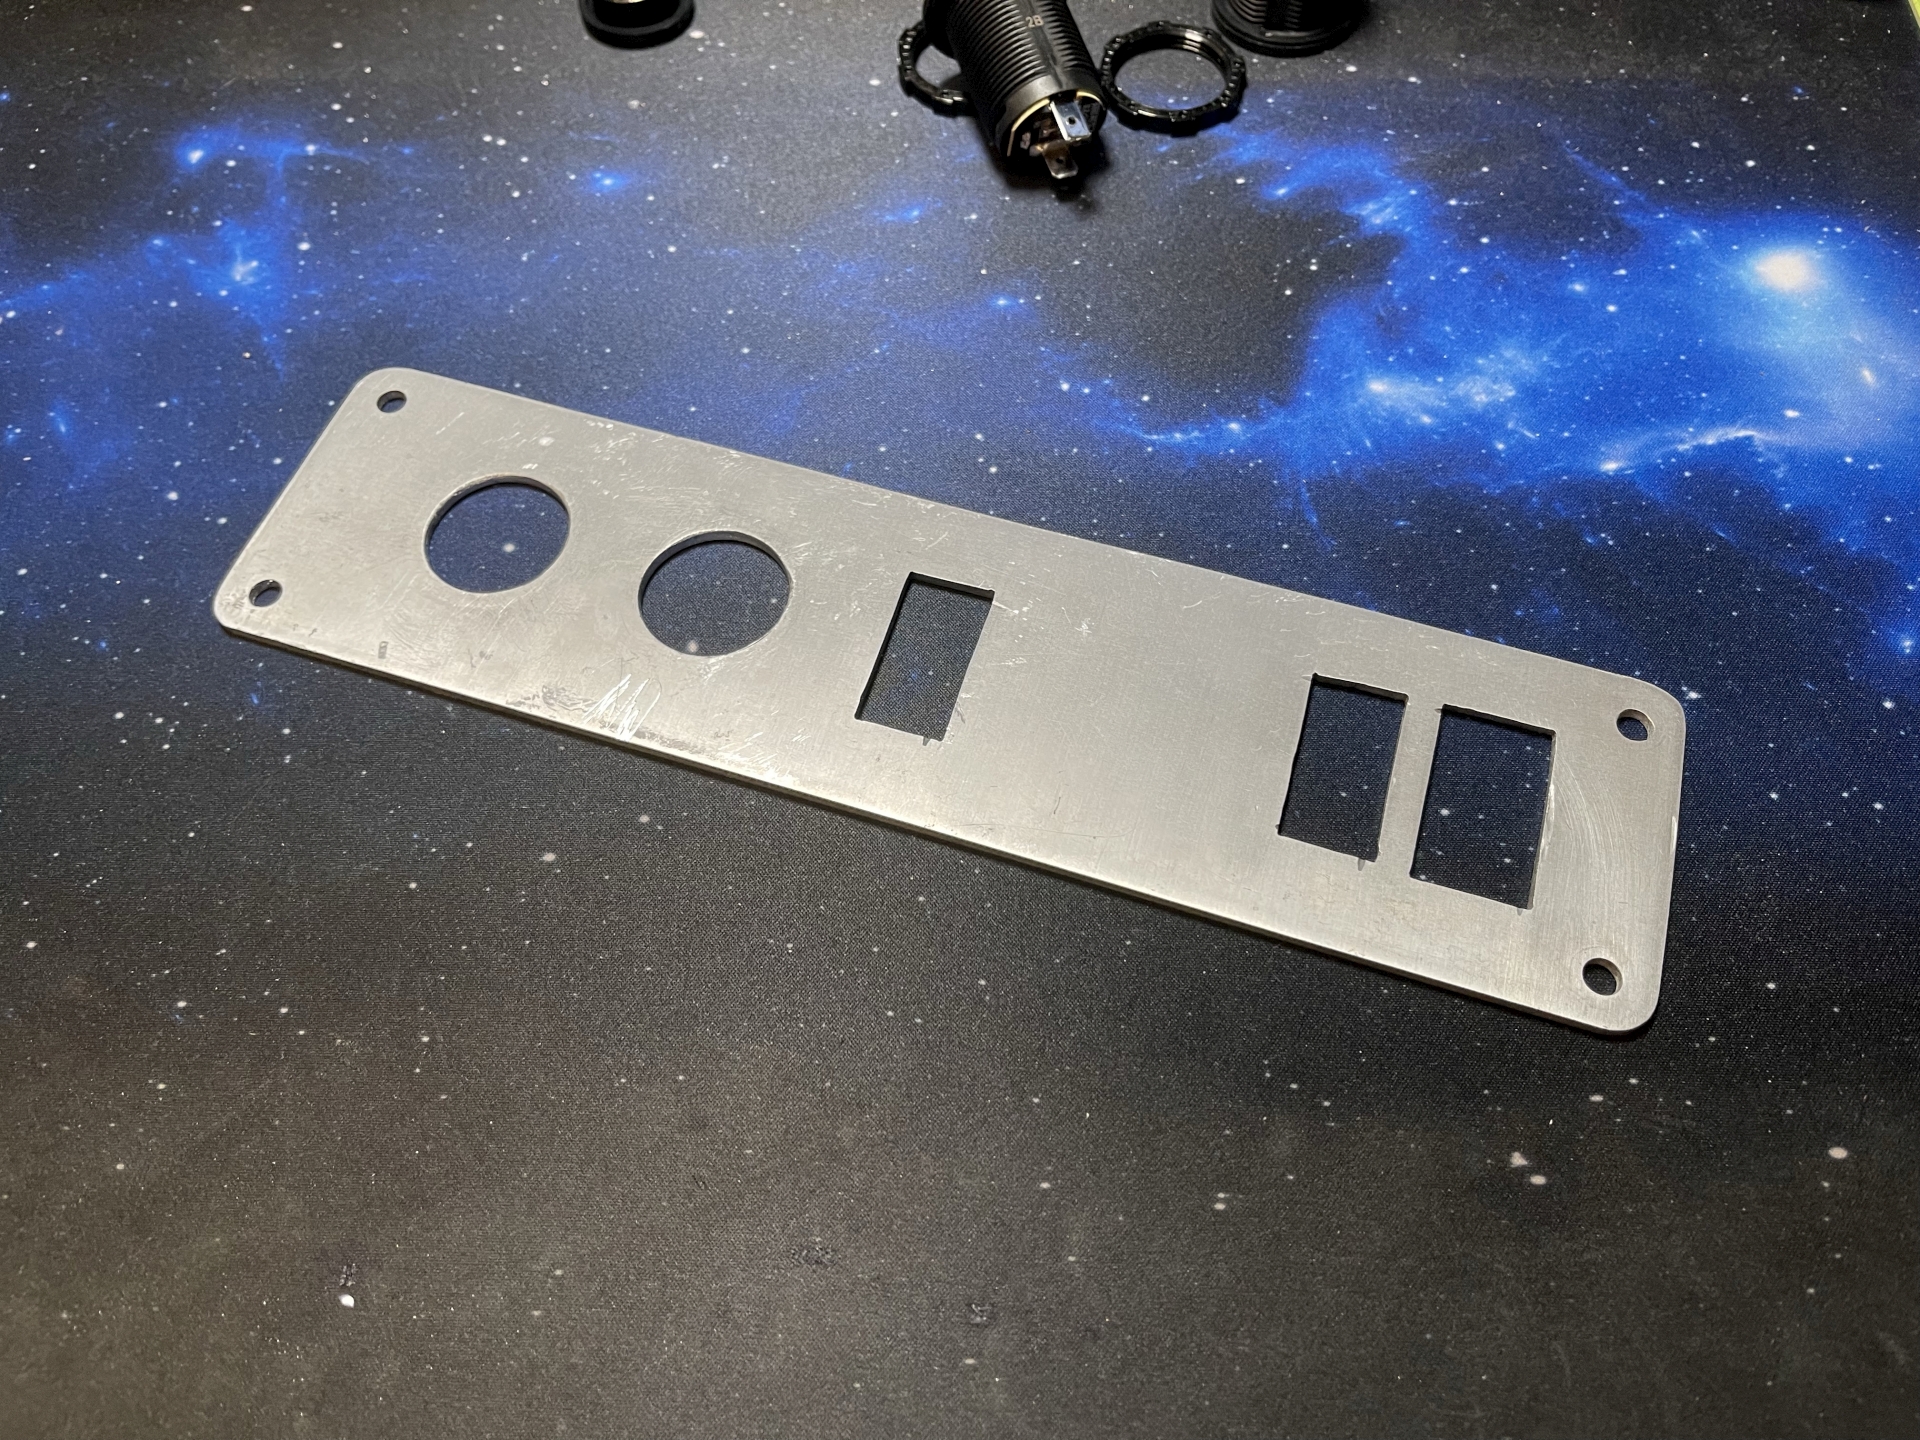
With that done, I had to wait a bit for my 12V sockets to arrive. When they did I could mark the holes and get to drilling. I only had a spade bit in 28mm so it was fairly tough going, my little bench drill did the job again though. Project Farm had annular cutters on his latest video, one of those would've been nice.
The holes were fine after a little clean up.
Both sockets mounted in the holes.
Wiring made up to put both sockets in parallel.

Both plates got a coat of clear lacquer, the weather wasn't ideal but it worked OK. At least they don't get covered in fingerprints just from being touched.
Labels re-applied and everything re-fitted.

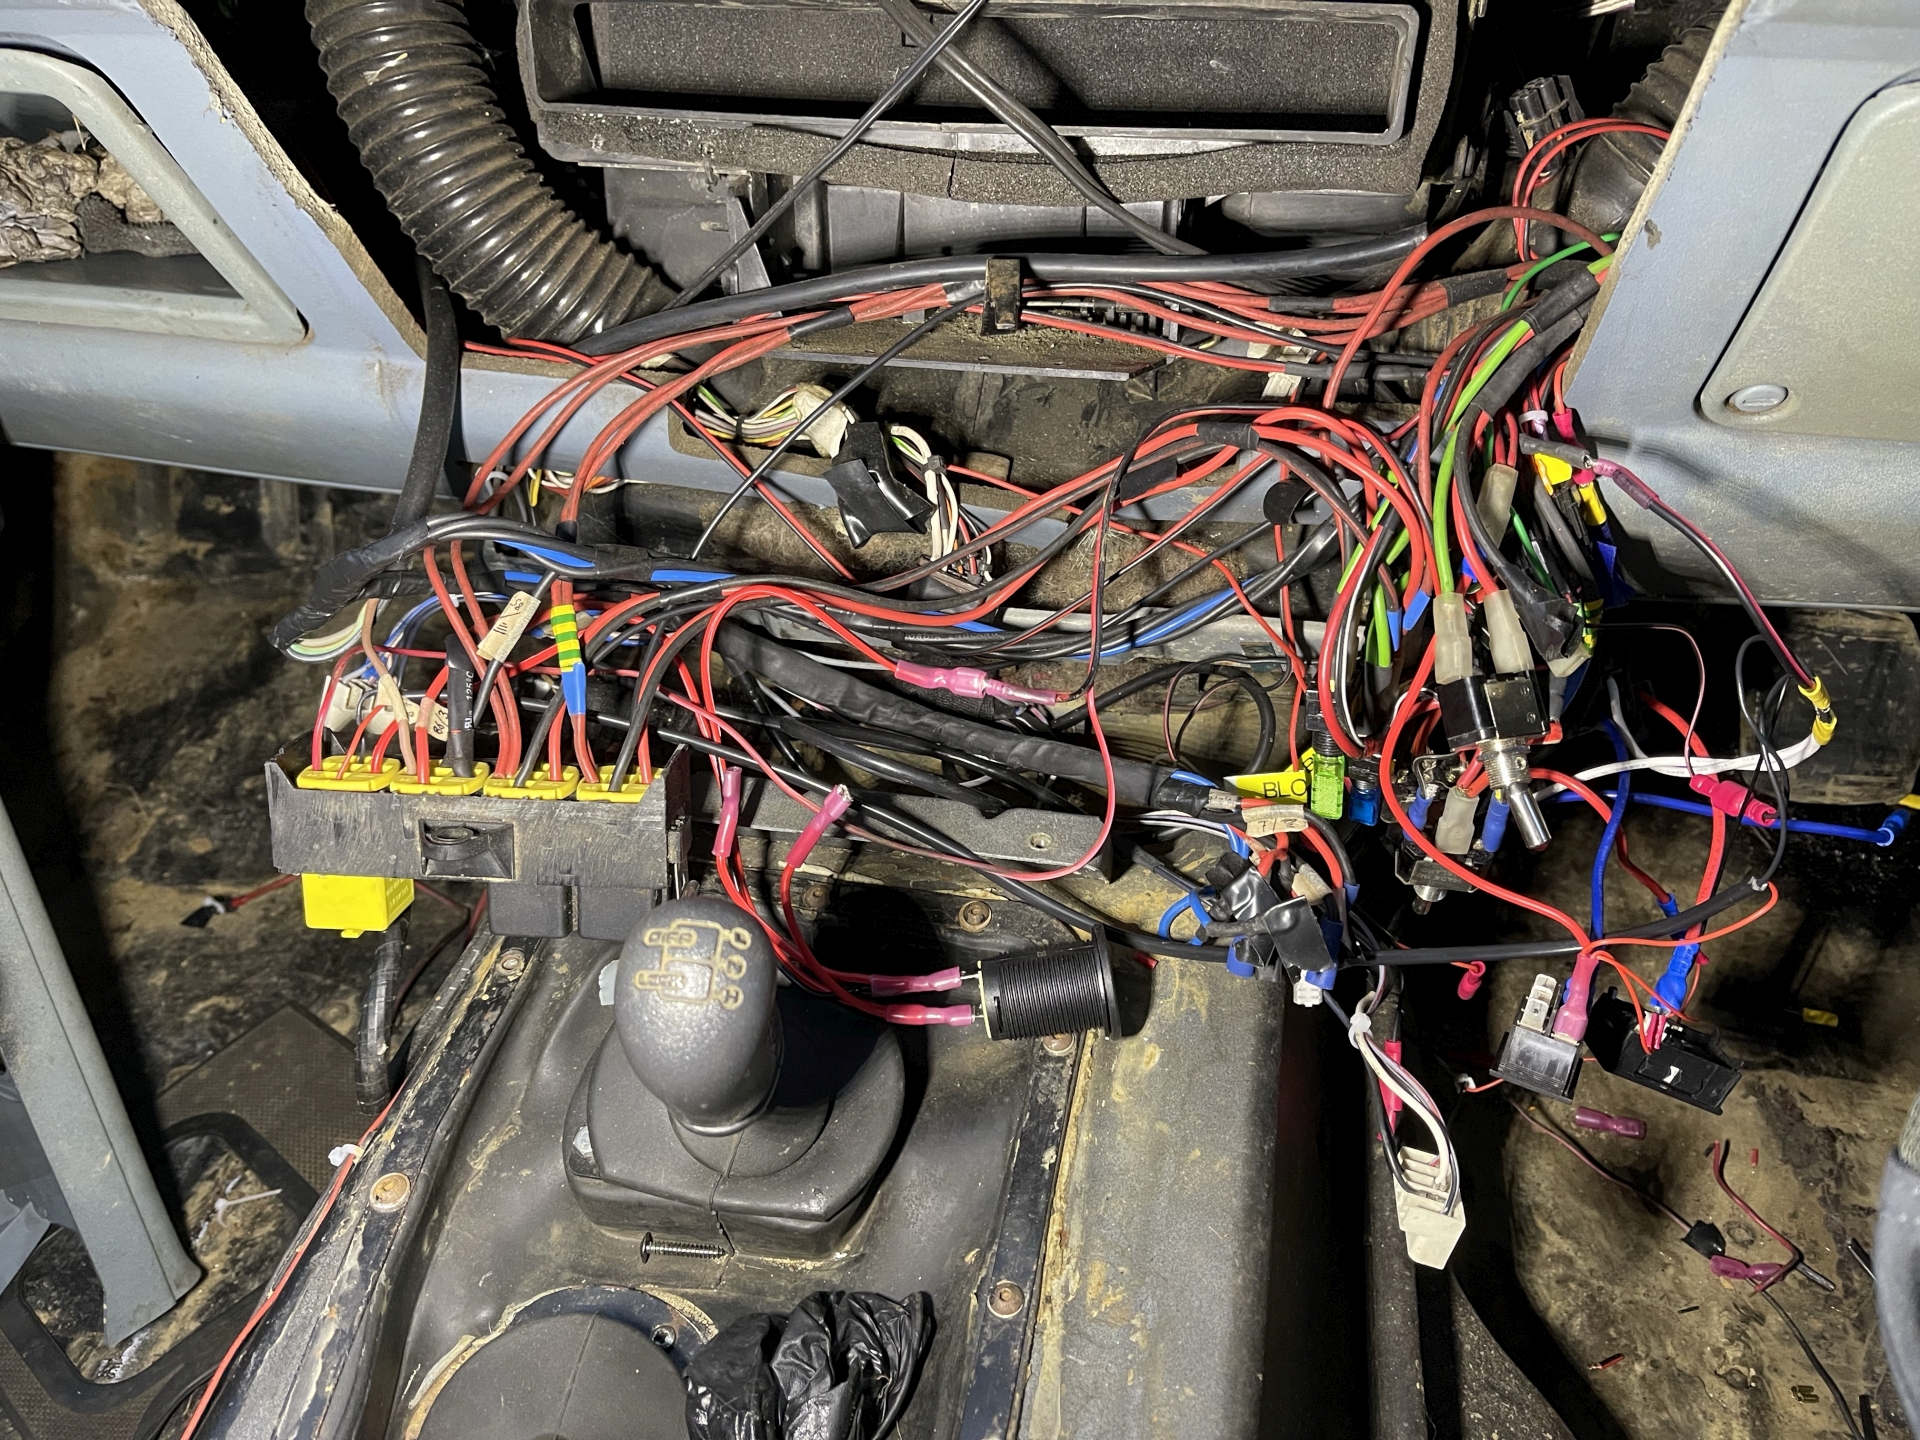
Time to deal with some of this spaghetti. The loom for the sockets went through a spare spot in the relay holder, which has a yellow relay installed in this picture but I swapped back to a black one. The relay is triggered by the same circuit that feeds the main battery voltmeter, so it comes on with the ignition or permanently depending on the switch position. It does kind of make sense in here.
Fully re-installed with enough time to go out for a drive. 3 coats of lacquer might not have been enough as it has already peeled in a few places, oh well. Fan label is also correct now.
